Introduction
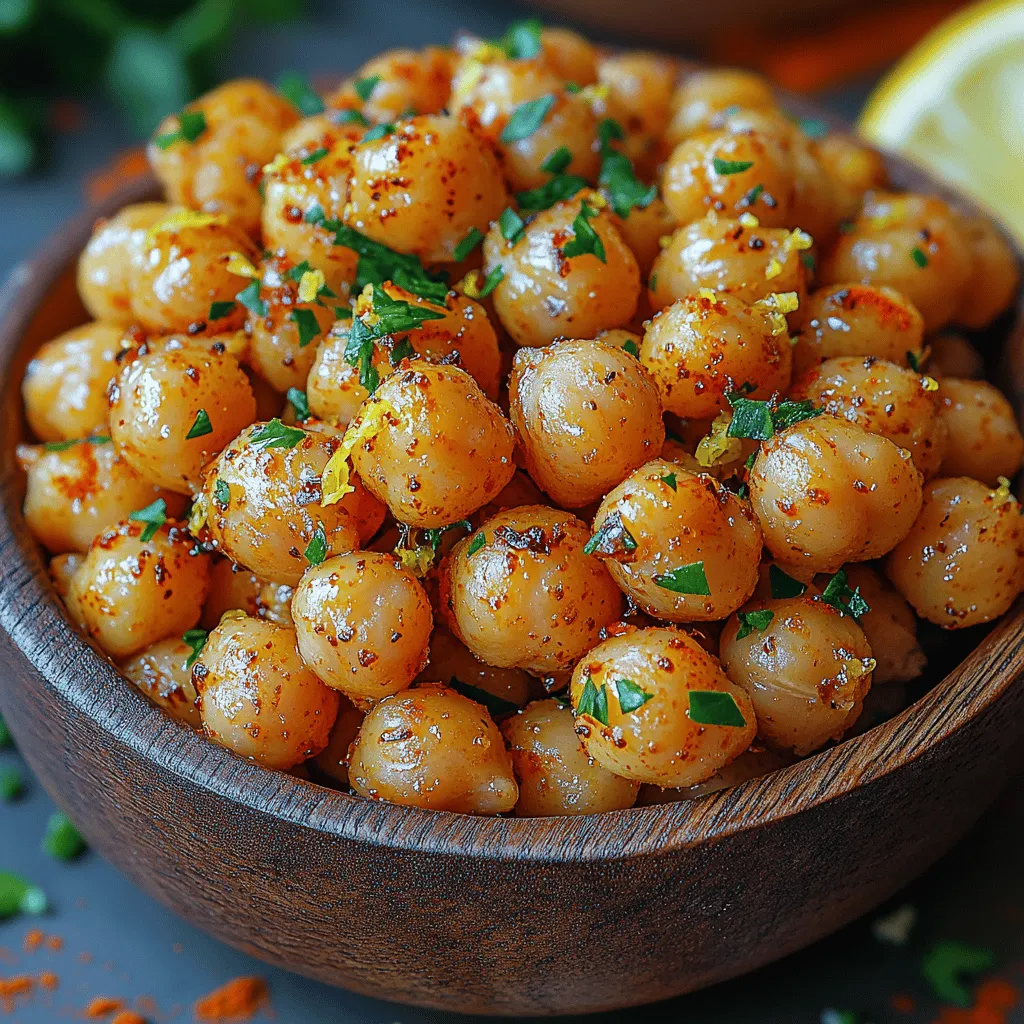
In recent years, the demand for plant-based snacks has surged, reflecting a broader trend towards healthier eating habits and sustainability. As more individuals seek to incorporate nutritious, wholesome options into their diets, chickpeas have emerged as a star ingredient. Among the many delicious ways to enjoy these legumes, Crispy Lemon Garlic Chickpeas stand out as an irresistible snack that marries health and flavor. This recipe not only satisfies your cravings but also serves as a versatile addition to any meal, making it an excellent choice for anyone looking to explore plant-based eating.
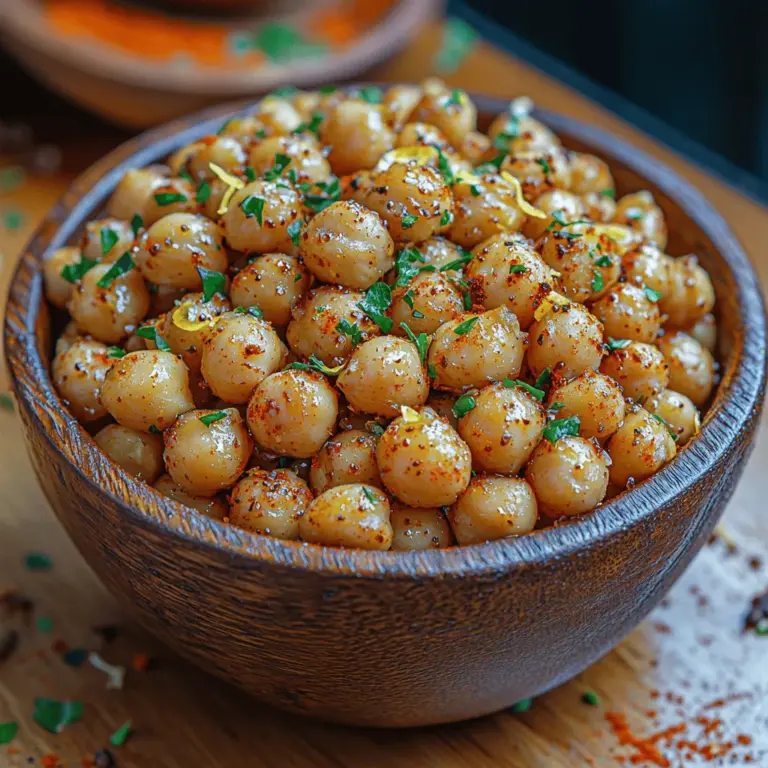
Crispy Lemon Garlic Chickpeas are more than just a crunchy treat; they are a powerhouse of nutrition packed into every bite. Chickpeas, or garbanzo beans, are known for their rich protein content and high fiber, making them a fantastic alternative to traditional snacks like chips or crackers. With a delightful combination of zesty lemon and aromatic garlic, this recipe elevates the humble chickpea into a flavorful experience that is both satisfying and guilt-free.
The Appeal of Chickpeas
Chickpeas are not only delicious but also boast impressive nutritional value. A single serving of chickpeas provides a substantial amount of protein, making them an excellent choice for those following vegetarian or vegan diets. In addition to protein, chickpeas are rich in dietary fiber, which aids in digestion and helps to keep you feeling full longer. This combination of nutrients makes chickpeas an ideal snack for those looking to maintain a healthy weight or incorporate more plant-based foods into their diet.
Furthermore, the health benefits of chickpeas extend beyond their macronutrient profile. They are known to promote heart health by helping to lower cholesterol levels and reduce blood pressure. The fiber and protein found in chickpeas can also support healthy gut function, further enhancing overall well-being. Whether you’re a health-conscious eater or simply someone who enjoys good food, chickpeas can seamlessly fit into various dietary lifestyles, including gluten-free and Mediterranean diets.
Ingredients Breakdown
To create Crispy Lemon Garlic Chickpeas, you’ll need a handful of simple yet flavorful ingredients. Below is a detailed breakdown of each ingredient, including their roles and benefits in this delightful recipe.
Chickpeas
The star of the show, chickpeas, can be used in either canned or dried form. Canned chickpeas offer convenience; they are pre-cooked and ready to use, making this recipe quick and easy. However, if you choose dried chickpeas, you’ll need to soak and cook them beforehand, which can enhance their flavor and texture. It’s important to note that dried chickpeas may require a longer preparation time, but they also allow for a bit more control over the cooking process.
Olive Oil
Olive oil is essential for achieving that perfect crispiness in your chickpeas. Not only does it help to coat the chickpeas evenly, ensuring they roast beautifully, but it also adds a rich flavor and healthy fats. When selecting olive oil, opt for extra virgin for its superior taste and nutritional profile.
Fresh Lemon Juice and Zest
Lemon juice and zest bring a vibrant brightness to this dish. The acidity of lemon juice balances the richness of the chickpeas and olive oil, while the zest provides an intense lemon flavor that elevates the overall taste. For the best results, use fresh lemons instead of bottled juice; the flavor difference is remarkable.
Garlic
Garlic is a must-have ingredient that infuses the chickpeas with aromatic depth. Not only does garlic enhance the flavor profile of this recipe, but it also offers numerous health benefits, including antimicrobial properties and potential heart health support. Fresh garlic is recommended for its robust flavor; using garlic powder in a pinch can work, but freshly minced garlic will yield the best results.
Spices
A blend of spices is key to transforming plain chickpeas into a savory delight. Smoked paprika adds a subtle smokiness, while cumin provides warmth and earthiness. Salt and black pepper enhance the overall flavor, and for those who enjoy a little kick, cayenne pepper can be added for heat. This spice mix not only elevates the taste but also contributes to the complexity of flavors in this dish.
Fresh Parsley
Fresh parsley serves as a vibrant garnish, adding a pop of color and fresh flavor to the finished dish. It is not only aesthetically pleasing but also provides additional vitamins and minerals. A sprinkle of chopped parsley can brighten up the presentation and flavor of your Crispy Lemon Garlic Chickpeas.
Preparation Steps for Crispy Lemon Garlic Chickpeas
Preheating the Oven
Before diving into the preparation of your ingredients, it is crucial to preheat your oven. Preheating to the correct temperature ensures even cooking and helps the chickpeas achieve that desired crunch. A temperature of 400°F (200°C) is ideal for roasting chickpeas, allowing them to become golden and crispy without burning.
Preparing the Chickpeas
If you are using canned chickpeas, start by draining them in a colander and rinsing them under cold water. This step is essential to remove any excess sodium or preservatives that may be present in canned products. After rinsing, gently pat the chickpeas dry with a clean kitchen towel or paper towels. This drying process is crucial, as excess moisture can prevent the chickpeas from crisping up during roasting.
For those opting for dried chickpeas, begin by soaking them overnight in plenty of water. The next day, drain the soaked chickpeas and transfer them to a pot filled with fresh water. Bring the pot to a boil, then reduce the heat and simmer until the chickpeas are tender but not mushy. Drain and pat dry before proceeding with the recipe.
With your chickpeas prepared, you’re ready to move on to the next steps, where the magic of flavor comes to life as you combine ingredients and roast them to crispy perfection.
Stay tuned for the next part of this article, where we will delve into the detailed preparation and cooking instructions for your Crispy Lemon Garlic Chickpeas Delight.

Cooking and Preparing Dried Chickpeas: Soaking and Boiling Processes
To make the best Crispy Lemon Garlic Chickpeas, starting with dried chickpeas is key. Unlike canned chickpeas, dried chickpeas have a firmer texture and richer flavor. The first step is soaking the chickpeas, which not only reduces cooking time but also helps them to cook evenly.
1. Soaking: Place 1 cup of dried chickpeas in a large bowl and cover them with at least 3 inches of water. Allow them to soak overnight or for at least 8 hours. This process hydrates the chickpeas and softens them, making them easier to cook and ensuring they achieve the perfect crispy texture when roasted.
2. Boiling: After soaking, drain the chickpeas and rinse them under cold water. Transfer them to a large pot and add fresh water, making sure the water level is about 2 inches above the chickpeas. Bring the water to a boil over medium-high heat. Once boiling, reduce the heat to a simmer and cook for about 45-60 minutes, or until the chickpeas are tender but not mushy. Check them occasionally to ensure they are not overcooking. Once cooked, drain the chickpeas and let them cool slightly before proceeding to the next steps.
Seasoning the Chickpeas
The seasoning is what transforms these chickpeas into a delightful snack. For the Crispy Lemon Garlic Chickpeas, the key ingredients are olive oil, garlic powder, lemon zest, salt, and freshly cracked black pepper.
1. Coating the Chickpeas: In a large mixing bowl, combine the drained chickpeas with 2 tablespoons of olive oil, 1 teaspoon of garlic powder, the zest of one lemon, and salt and pepper to taste. Stir gently to ensure all chickpeas are evenly coated.
Tips for Ensuring Even Coating of Spices and Oil
To achieve an even coating of spices and oil on the chickpeas, consider the following tips:
– Use a Large Bowl: A larger bowl allows for better movement when mixing, ensuring that each chickpea gets a fair share of the seasoning.
– Toss Rather Than Stir: Gently toss the chickpeas together to prevent them from breaking apart. A light hand will keep them intact and ready for roasting.
– Adjust Seasonings: Feel free to adjust the quantities based on your taste preferences. If you prefer a more garlicky flavor, increase the garlic powder. For a zestier kick, add more lemon zest or even a splash of lemon juice.
Flavor Balance and Customization Options
One of the great things about this recipe is its versatility. You can customize the flavors to suit your taste. Here are some ideas:
– Spice Levels: If you enjoy heat, consider adding a pinch of cayenne pepper or smoked paprika for a spicy twist.
– Herbs and Spices: Experiment with other herbs such as cumin, coriander, or even dried herbs like oregano or thyme for added depth of flavor.
– Sweet and Savory: For a unique flavor profile, drizzle a bit of honey or maple syrup over the chickpeas before roasting for a sweet-savory combination.
Roasting Process
Now that the chickpeas are seasoned, it’s time to roast them to achieve that perfect crunch.
1. Preheat the Oven: Preheat your oven to 400°F (200°C). A hot oven is essential for crispiness.
2. Spacing Chickpeas on the Baking Sheet: Spread the seasoned chickpeas onto a baking sheet lined with parchment paper. Make sure to space them out evenly, avoiding overcrowding. This spacing is crucial; if the chickpeas are too close together, they will steam rather than roast, compromising their crispiness.
3. Shaking the Pan: Halfway through the roasting process, about 15 minutes in, give the pan a good shake. This will help the chickpeas roast evenly and prevent them from sticking to the parchment paper.
Cooling and Serving
After about 30-40 minutes of roasting, the chickpeas should be golden brown and crispy.
1. Cooling: Allow the chickpeas to cool on the baking sheet for at least 10 minutes. This cooling time is essential as it allows the chickpeas to firm up further, enhancing their crunchiness.
2. Serving Ideas: Crispy Lemon Garlic Chickpeas can be enjoyed in several ways:
– As a Snack: Perfect for munching on alone or paired with your favorite dips like hummus or tzatziki.
– Salad Topper: Add a handful to your salads for a satisfying crunch and an extra boost of protein.
– Grain Bowl Addition: Toss them into grain bowls featuring quinoa, rice, or farro, along with your choice of vegetables and dressing for a filling meal.
Health Benefits of Crispy Lemon Garlic Chickpeas
Chickpeas are not just delicious; they also offer numerous health benefits.
– Nutrient-Rich: Chickpeas are packed with essential nutrients, including protein, fiber, and vitamins such as folate and B vitamins, making them an excellent choice for a healthy snack.
– Heart Health: Regular consumption of chickpeas can help manage cholesterol levels and reduce the risk of heart disease due to their high fiber content.
– Weight Management: The fiber and protein in chickpeas promote feelings of fullness, helping to curb cravings and support weight management.
– Satisfying Crunch: This recipe satisfies the desire for crunchy snacks without resorting to unhealthy fried alternatives.
Versatile Serving Suggestions
Incorporating crispy chickpeas into your meals can enhance both flavor and texture. Here are some creative ways to include them:
– Salads: Add crispy chickpeas to your favorite leafy greens, complementing the fresh vegetables with a delightful crunch and protein punch.
– Wraps and Grain Bowls: Use chickpeas as a filling in wraps or as a topping for grain bowls. Their crunchy texture adds variety to your meals while keeping them nutritious.
– As a Stand-Alone Snack: Serve them at parties as a healthy alternative to chips or popcorn. Pair with dips or serve them plain for a satisfying crunch.
Conclusion
Creating Crispy Lemon Garlic Chickpeas is not only simple but also a rewarding way to enjoy a nutritious snack at home. With just a few ingredients and a straightforward process, you can whip up a batch that satisfies your taste buds while offering numerous health benefits.
Experimenting with seasonings and serving ideas allows for endless culinary creativity, highlighting the versatility of chickpeas in various dishes. Whether you’re snacking on them alone, adding them to salads, or incorporating them into grain bowls, these crispy treats are bound to become a staple in your kitchen. Embrace the joy of making healthy snacks at home and explore the endless possibilities that chickpeas offer in your culinary adventures.

